how-to
Raised Bed Layout: 5 Planning Steps Before Planting
By Raised Garden Bed Planters Editorial
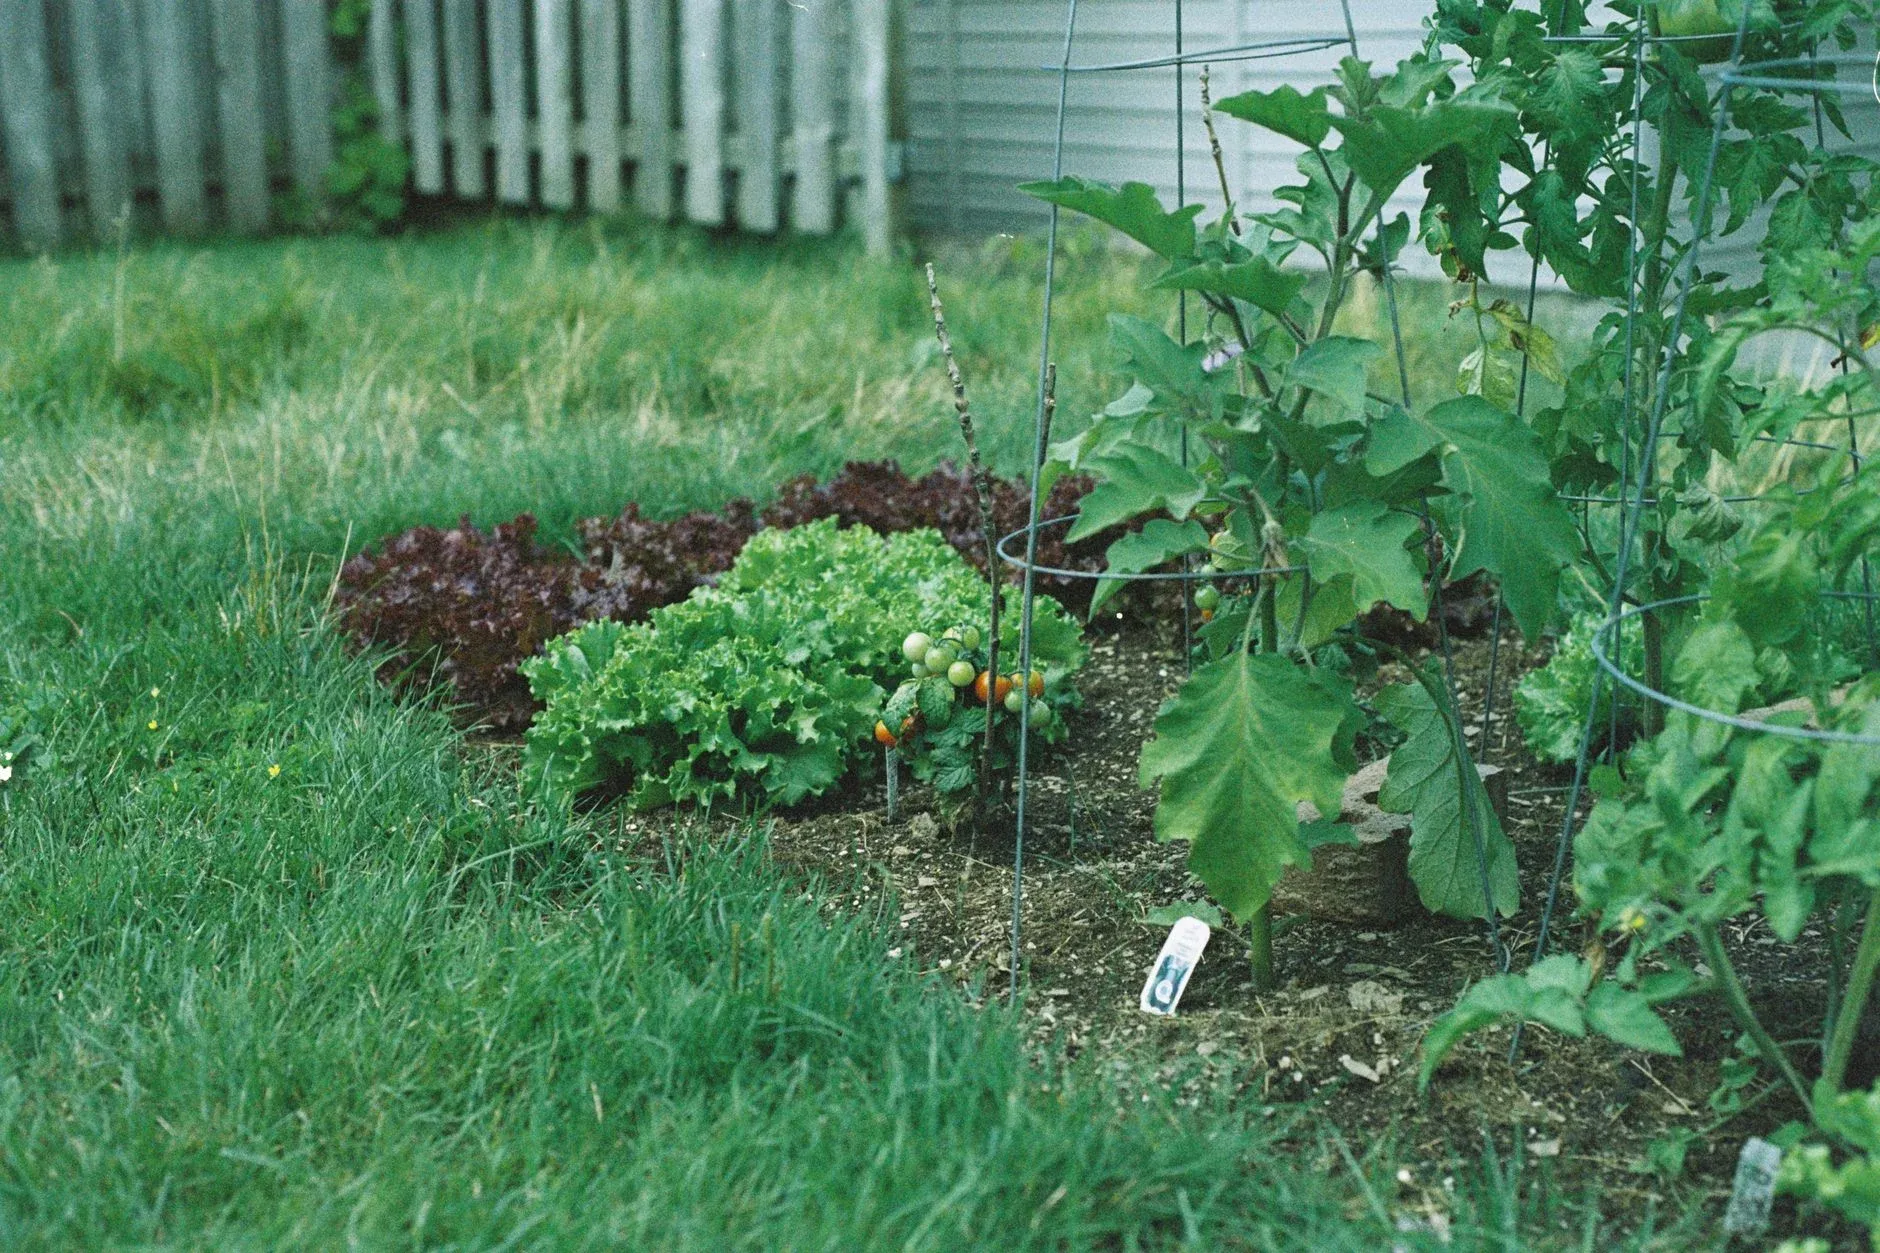
Layout decisions that affect what you harvest
Most raised-bed layout advice is really just garden photography with captions. You get a picture of a pretty 4x8 bed, a list of what’s growing in it, and no explanation of why anything is placed where it is. That’s fine if you want inspiration, but it won’t help you decide where your tomatoes go relative to your lettuce, or how wide to make the path between two beds you’ll be kneeling beside in May.
Three variables drive how much you harvest from a raised bed: how the bed is oriented relative to the sun, how you sequence plants by height so taller ones don’t shade shorter ones, and how wide you make your access paths. Get those three right, and the specific crops you grow almost don’t matter. The light reaches them, you can reach them, and they have the space they need. Get them wrong and you spend the season working around problems you built into the design before you planted anything.
The spacing question — whether you use square-foot block planting or traditional row spacing — matters too, but it’s downstream of orientation and access. I’ll cover all of it here, including a few concrete layout plans matched to specific goals, because a framework without an example is just more theory.
Orient your bed before you plant anything
In zones 3 through 5, the growing season runs roughly from late May through early September. Maybe fourteen to sixteen weeks if you’re lucky with the shoulder weeks. The sun tracks lower in the sky than it does farther south, and in the morning and evening hours it comes in at a shallow angle. That geometry matters for bed orientation in a way it doesn’t for gardeners in zone 7 or 8 who have sun to spare.
The standard advice is to run your beds north to south so that all your plants get roughly equal sun exposure as the sun moves east to west across the sky. That works well when all your crops are similar in height. But if you’re growing a mixed bed — trellised tomatoes alongside lettuce and carrots — a strict north-south orientation isn’t the whole answer. A bed that runs north-south with tall plants on the west side will still shadow shorter plants on the east side during the afternoon hours, which in a zone 4 summer are often your best growing hours.
The rule I use: orient the bed north-south, and within that, put your tallest plants at the north end. The sun arcs to the south in our sky, so plants at the north end cast their shadows back toward north rather than over their shorter neighbors. A tall tomato cage at the north end of a 4x8 bed shades maybe six inches of the bed behind it in midsummer. The same cage planted at the south end shades two or three feet of the bed, including whatever shorter plants you put there.
If your yard constrains you to an east-west bed orientation — a fence line, a slope, or the shape of the space — put your tall crops on the north side of the bed rather than the east or west ends. You’ll lose some efficiency, but you’ll lose less than if the tall plants shade the whole bed through the warmest part of the day.
Tier your plants by height — tall crops to the north, short crops to the south
Once you’ve got orientation settled, the next step is assigning a height tier to each crop you’re planning. You need three rough categories: tall (over three feet at maturity, or anything that needs a trellis), medium (two to three feet — most brassicas, peppers, large-leafed herbs), and short (under eighteen inches — lettuce, spinach, carrots, radishes, bush beans).
In a standard 4x8 bed, tall crops go at the north end. Indeterminate tomatoes, trellised pole beans, cucumbers on a vertical frame. All of these belong at the north end, against a trellis you’ve anchored there. Medium crops fill the middle two to three feet of the bed. Short crops go at the south end, where they’ll receive the most direct sun and won’t be overshadowed by anything behind them.
The practical sequence for a 4x8 mixed bed might look like this: trellis at the north edge for pole beans or cucumbers, one or two tomato plants just south of that, then a row of kale or broccoli in the middle third, then two rows of lettuce and a block of carrots at the south end. Not a precise plan. A sequencing logic you adapt to whatever you’re actually growing.
One thing I’ve found over the years: people underestimate how tall brassicas get. Broccoli that’s labeled 18 to 24 inches in the seed catalog will hit three feet in a good soil mix with adequate water. Put it in your “short” tier and it shades the lettuce. Put it in your “medium” tier and plan accordingly.
Access paths: how much space you actually need to reach your plants
The trade-off between path width and plantable square footage is real, and the answer depends on how you actually garden. If you kneel, you need more width than if you reach. If you use a kneeler or a stool, you need more width than if you can squat. If your beds are 4 feet wide, you can reach the center from either side. Eighteen inches of kneeling space on each side gets you there comfortably without stepping in the bed. Wider beds need either wider paths or a stepping stone set into the bed itself.
Eighteen inches is the number I’d plan around for a path you’ll be kneeling beside regularly. It’s enough to get down on one knee, work the middle of a 4-foot bed from the side, and stand back up without doing gymnastics. Twelve inches is workable, but only if you’re reaching rather than kneeling, and only if you don’t mind the occasional planted-elbow moment when you’re weeding in June.
Twelve inches works between two beds when one of them is a low-maintenance perennial bed you’re mostly just observing, or when the bed is short enough that you can reach the middle from the end rather than the side. For your main vegetable beds, give yourself 18 inches and don’t apologize for the square footage it costs you. You’ll regret the narrow paths every time you’re trying to harvest beans in a hurry before a storm.
If you’re building multiple beds, plan the primary working paths at 18 inches, and allow 24 inches wherever you need to turn a wheelbarrow or move a hose reel without dragging it sideways.
Square-foot spacing vs row spacing: which one fits your goals
Square-foot gardening, as Mel Bartholomew formalized it, divides the bed into one-foot squares and assigns a planting density to each square based on plant size. One tomato per square foot, four lettuce per square foot, sixteen carrots per square foot, nine spinach per square foot. The underlying logic is that plants grown in rich raised-bed soil don’t need the row spacing designed for in-ground planting with a tractor. They can grow closer together because the soil is better and there’s no equipment to maneuver between rows.
That logic is mostly right, and square-foot spacing works well for most vegetables in a well-amended raised bed. Here’s how the two approaches compare for common crops:
| Crop | Square-foot density | Row spacing equivalent | Notes |
|---|---|---|---|
| Carrots | 16 per sq ft | 3-inch spacing in 12-inch rows | Square-foot density works; thin aggressively |
| Lettuce (leaf) | 4 per sq ft | 6-inch spacing | Both work; square-foot gives cut-and-come-again flexibility |
| Bush beans | 9 per sq ft | 4-inch spacing in 18-inch rows | Square-foot wins on yield per area |
| Tomatoes (indeterminate) | 1 per sq ft | 24-36 inches between plants | Square-foot is minimum; give 2 sq ft if you can |
| Broccoli | 1 per sq ft | 18-24 inches between plants | Don’t crowd broccoli; 1 per sq ft is already tight |
For a small raised bed where space is the constraint, square-foot spacing almost always makes sense. The plants compete less than you’d expect because the soil is uniformly good and water doesn’t pool in rows. Where row spacing still has an argument is for crops that need airflow — brassicas in humid summers, tomatoes if you’ve had fungal problems — where the denser block planting can work against you.
If you’re new to raised beds, start with square-foot spacing for your first season and thin ruthlessly. The main mistake beginners make with block planting is skipping the thinning step because pulling seedlings feels wasteful. Crowded carrots give you a lot of carrot tops and very little carrot.
Companion planting inside a single bed: what pairs well and what competes
Companion planting gets oversold in a lot of gardening writing, and I’ll say that plainly. The evidence that basil makes tomatoes taste better is thin. The claim that marigolds repel every soil pest is an overstatement. But there are real combinations worth knowing, and in a 4x8 bed where you’re making every square foot count, pairing crops that do double duty — useful harvest plus pest deterrent or pollinator draw — takes about ten minutes of planning and pays off across the whole season.
The combinations I’ve reliably had good results with in a single bed:
- Tomatoes and basil. They share space without root competition, and the basil does seem to deter aphids in my experience, though I’d rather grow it for the cooking. Plant basil at the feet of tomatoes in the middle tier.
- Pole beans and brassicas. Beans fix nitrogen; brassicas are heavy feeders. They don’t compete for root space in the same way, and the beans can climb a shared trellis while the brassicas do their thing below. I’ve grown this combination in a 4x4 bed for several seasons.
- Lettuce under tall crops. Lettuce bolts in heat. Plant it in the partial shade created by your trellised cucumbers or pole beans, and you’ll extend the lettuce harvest by two or three weeks in a hot July. It’s not companion planting in the traditional sense, but it uses the bed’s microclimates on purpose.
- Carrots and onions. The carrot fly and the onion fly each dislike the smell of the other’s host plant. This one has actual field evidence behind it, not just folklore.
What to avoid putting together: fennel next to almost anything (it’s allelopathic to most vegetables), and two heavy brassicas like broccoli and cauliflower sharing a 4x4 bed. They compete for the same nutrients and neither one does as well as it would with more room.
A layout plan for three common goals
Here are three concrete starting points. Your crops, your yard, and your preferences will adjust them, but they’re close enough to plant from without starting from scratch.
Maximum yield in a single 4x8 bed. Orient north-south. Anchor a trellis at the north end. Plant two indeterminate tomatoes in the northern 2 feet, trained to the trellis. Fill the middle 3 feet with two broccoli plants and a block of nine bush beans (using square-foot density). Plant four lettuce in the southern 2 feet and two rows of carrots (16 per foot of row, thinned to 2-inch spacing). This bed will feed two people reasonably well from June through September.
A beginner’s first bed with forgiving access. Use a 4x4 bed rather than 4x8. Easier to reach from all sides, easier to manage, less overwhelming. Plant one tomato (determinate variety) in the northwest corner with a single stake. Fill the northeast corner with a zucchini plant. One is enough, two is too many. Use the southern half for a mix of lettuce, spinach, and radishes at square-foot density. A 4x4 bed like this asks for about 20 minutes a week and teaches you most of what you need to know before you go bigger next season.
A salad bed for cut-and-come-again harvest. This bed is designed for continuous picking rather than end-of-season harvest. Use a 4x4 or 4x8 bed in full sun. No tall crops. Plant four varieties of leaf lettuce in the northern half, using 4-per-square-foot density, staggering the planting by two weeks for successive maturity. Spinach in the southern half, 9 per square foot. Add one row of radishes along the south edge as a fast-maturing crop while the lettuce establishes. Once the spinach bolts in July, replant that section with fall lettuce varieties for a September harvest.
What to do before you put your first transplant in the ground
Planning a raised bed doesn’t take long if you do it in order. Here’s the sequence I’d follow:
- Orient the bed. Stand in your yard at noon and find south. Mark the north end of the bed. That’s where your tall plants and your trellis go.
- Sketch the height tiers. On a piece of paper or the back of a seed packet, draw the bed from above and mark the north end. Assign tall, medium, and short zones.
- Mark your path edges. Before you think about what goes inside the bed, make sure you have 18 inches of clear path on the sides you’ll be kneeling beside. If you’re building a second bed, mark that spacing now.
- Assign spacing by crop. For each crop you’re planting, decide whether you’re using square-foot density or row spacing, and mark that on your sketch. Default to square-foot spacing unless you have a specific reason for rows.
- Note your companion combinations. If you’re pairing beans with brassicas, or lettuce under a trellis, mark that on the sketch so you don’t plant the lettuce before the trellis is up.
Five steps, and you can do all of them in under twenty minutes. The gardeners who get the most out of a small raised bed are usually the ones who did this kind of planning in March, before the seed catalogs started pulling them in twelve directions at once. The layout sets everything else up. Do it before the transplants are in your hands and the ground is ready.